After a couple of years (yes, I said years) of tweeking the drawing, it was time to get started. My plan called for steam bent back pieces. Since I've never done any steam bending I thought I'd better start there. If I failed to be able to steam bend the pieces correctly I could re-think things before I got too far into it. It took a couple of practice pieces but I learned how to do it and got all the back pieces steam bent according to plan. If you're using kiln dried wood be sure to soak it in water overnight and keep it as narrow and thin as possible. DAMHIKT
After spending several evenings steam bending 12 pieces of wood it was time to start cutting all the other pieces. The legs are made with 8/4 stock. The front legs have a taper on the 2 inside surfaces on the bottom 8". The rear legs have a 5° slope from the seat on up and a taper on just one inside surface of the lower portion. All of the pieces are mortise and tenon fit. The curved back pieces presented a slight challenge to make an accurate cut. But the pieces that caused a few re-do's was the lower leg stretchers. The front legs are spread 2" wider than the rear legs so you have to cut an angled tenon on the stretchers from front to back. And the lower stretcher pieces also fall on the inside taper of the legs so you end up with a compound angle to cut for those tenons. It's such a slight angle that it was hard to visualize and thus the re-do's.
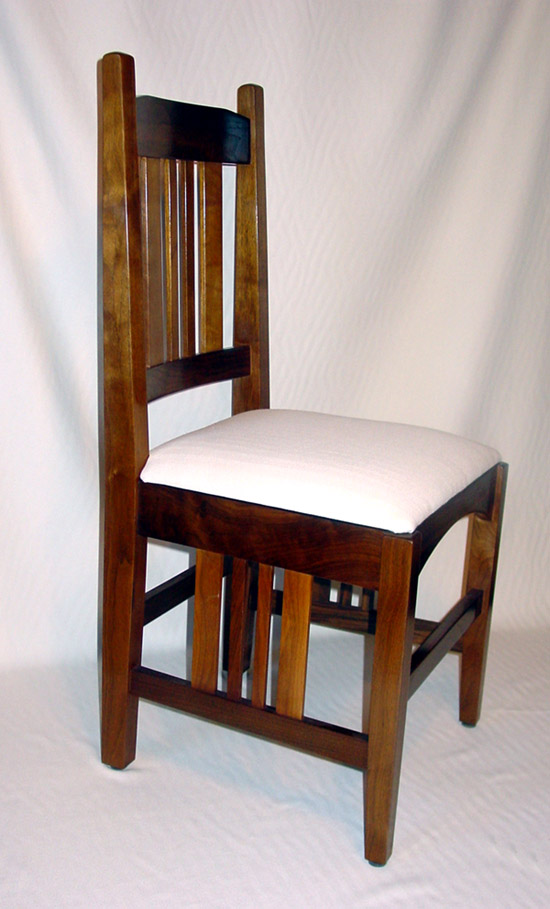
I don't know much about upholstery so I bought a couple of plans for chairs similar to mine to see how they did it. Most of them just had a piece of plywood with a chunk of foam on top of that covered with fabric. Wood magazine had a way of doing it that appealed to me. They make a plywood frame, bevel the edges, stretch on some webbing and cover with foam and fabric. I added some batting over the foam and covered it all with muslin. We'll add the fabric later. This way we can easily re-upholster with a different fabric if we decide we want a change or the other fabric becomes too soiled.
So I've got the first chair complete to the point that it is dry fitted together. Before I sand it and put a finish on it I will build the other 5. I'm planning on putting a spit coat of orange shellac on the chairs and then cover either with lacquer or a good poly. I'll update this page so you can see the completed product.